 Asian Recipes News You will happy to get chinese, Indian, Indonesian, Japanese, Jordanese, Korean, Thai, Turkish and Best Asian Viral Recipes
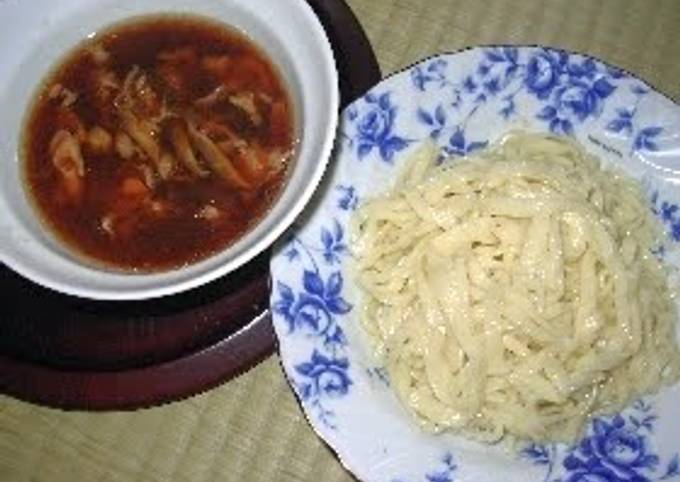
My Grandmother's DIY Udon Noodles.
 You can cook My Grandmother's DIY Udon Noodles using 4 ingredients and 22 steps. Here is how you achieve it.
Table of Contents :
Ingredients of My Grandmother's DIY Udon Noodles
- Prepare 200 grams of White flour.
- Prepare 2 tsp of Salt.
- It’s 75 ml of Water.
- Prepare 1 of Flour for dusting (flour or katakuriko).
My Grandmother's DIY Udon Noodles step by step
- Combine the flour and salt in a bowl. Add half the quantity of water..
- Mix the flour that has been saturated with water in the center of the bowl. Gradually add water and mix into the center so that the mixture takes on the appearance of panko..
- Squeeze and knead the fine crumbs together to form a lump. Add water if necessary, but not too much..
- It will eventually form into a cohesive ball..
- Put in a plastic bag and knead with your feet. This adds elasticity and gives a chewy texture to the noodles! It is possible to mix with your hands, if you put enough strength into it..
- The dough will spread out as you knead, so bring the dough together from time to time and knead for 10 minutes (as seen in the photo, I kneaded the dough by folding it in, and peeled off the plastic each time)..
- Roll the dough into a ball. Wrap in plastic wrap or leave it in the bag, and let rest for over an hour (leave it as is)..
- Since it's already in the bag, flatten the dough with your hands and spread it out slightly..
- Leave the dough in the plastic bag and roll out with a rolling pin, Wrinkle marks from the plastic may transfer to the dough, so peel it off occasionally (I rolled out the dough to the size of the bag)..
- Remove from the bag. Dust your work surface, the rolling pin, and the udon dough with flour using your hands and rub in (I used wheat flour this time). As my cutting board is small, I spread out the plastic bag and lay it on top of it..
- Roll out the dough on your work space. Dust your workspace, rolling pin, and the dough with flour well so that they don't stick. Wrap the dough around the rolling pin, flip it over, and spread the dough out evenly to the four corners (it's easy to turn the dough over if you roll it around a rolling pin)..
- I rolled out the dough to the size of the bag. My cutting board and rolling pin are small, but I was able to roll it out into a long oval..
- When the dough is rolled out to your preferred thickness, fold into three or four, and slice from the edge with a knife (I folded into three)..
- Sprinkle flour on the cut strips and loosen them apart (the cut edges are prone to sticking, so be careful)..
- All the noodles have been cut. While cutting, I started making them a bit fatter so the thickness of the noodles varies somewhat. When they're boiled you'll notice the difference, so please try to keep them to a uniform thickness..
- In a pot, bring plenty of water to the boil..
- Drop the loosened strands into the boiling water. Keep the pot boiling and stir occasionally so the strands don't stick (I only have a small pot, but it's best to use a large one)..
- If the pot looks like it's about to boil over, add 50 ml of water. It'll prevent the pot from boiling over, but it'll also decrease the temperature of the water, so don't add too much! You could also lower the heat..
- Boil the noodles for 8-10 minutes, and once the strands float to the surface, bite into one to check the texture. If it has cooked through, they're done..
- You could drain the water and wash in cold water for chilled noodles, or serve the noodles in a hot broth. Serve whichever you prefer (I ate the noodles cold)..
- I made the noodles for the first time in a while and cut the strands thickly, but they took forever to boil and were difficult to eat. They were delicious, but my jaws were exhausted from the chewing..
- My father gave me a kneading bowl, and so I made these this weekend. FYI, I made the noodles with 850 g of all-purpose flour. The bowl is pretty big..
